
3d Printing was once the stuff of fantasy and Sci-Fi novels, but these days they are a commonplace item in the homes of Crafters and Creatives and for Christmas Ash received an EasyThreed X2 3D Printer from Bob and this is the story so far…
When Bob was Stuck for a Christmas present back in December she had a wonderful idea, she decided to buy Ash a 3D Printer. But, although Ash makes a lot of Art, from paintings and drawings to models and dioramas he doesn’t have the most space, so a 3D Printer would have taken up a lot of room. But after a lot of research Bob found something that was ideal, the EasyThreed X2 3D Printer. It even comes in the Climbing-Moss Colours!!

The EasyThreed X2 is marketed as a First 3D Printer, a beginner’s level printer and being only 150mm wide it is small and compact enough to fit in a small space and not overwhelm.
Ash has recently got back into making and painting figures of all scales, So, buying him a 3d Printer, so he can print parts or even the whole creation seemed perfect as, Sometimes projects get a little stuck when you try to make things that are beyond being moulded out of foam.

A 3D Printer is like a cake piping nozzle that lays PLA Filament (instead of iced sugar) onto a bed one micro thin layer at a time, placing layer after layer down and building up each line until it has printed a few hundred layers. It’s like putting a leg of lamb through a meat slicer cutting them into really thin slices and numbering each slice, then glueing the slices back together again one on top of another, the end result is a 3 dimensional shape that hopefully resembles the original leg, but is this case the leg is made of Plastic filament and not meat!
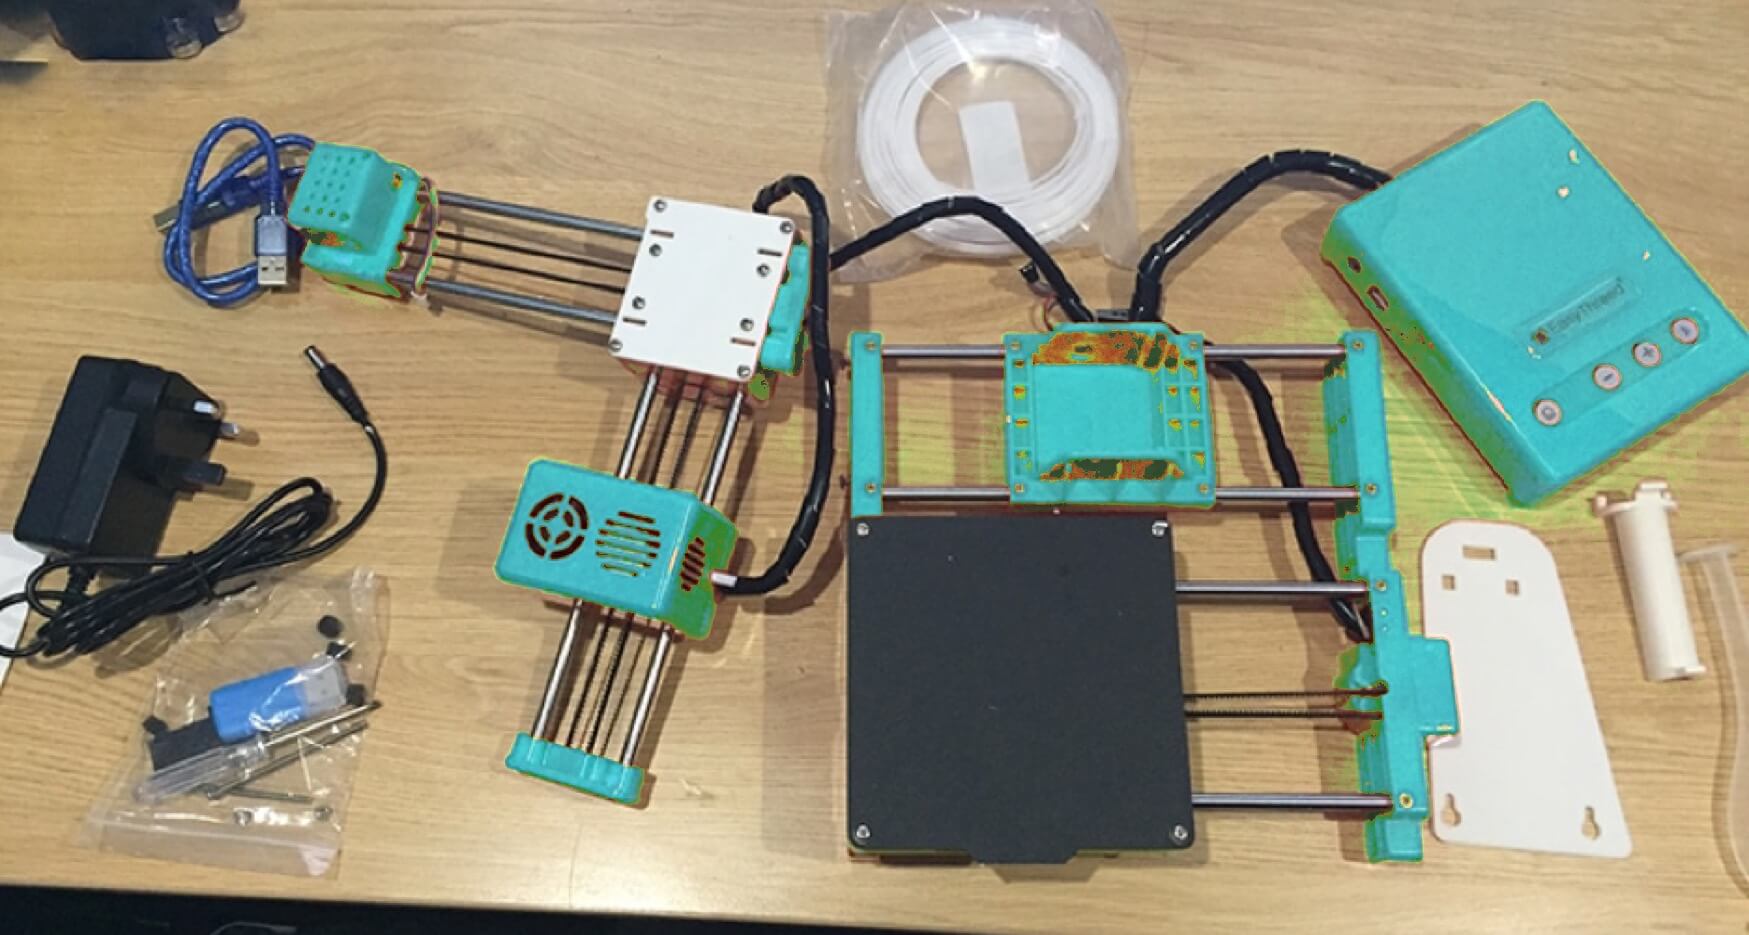
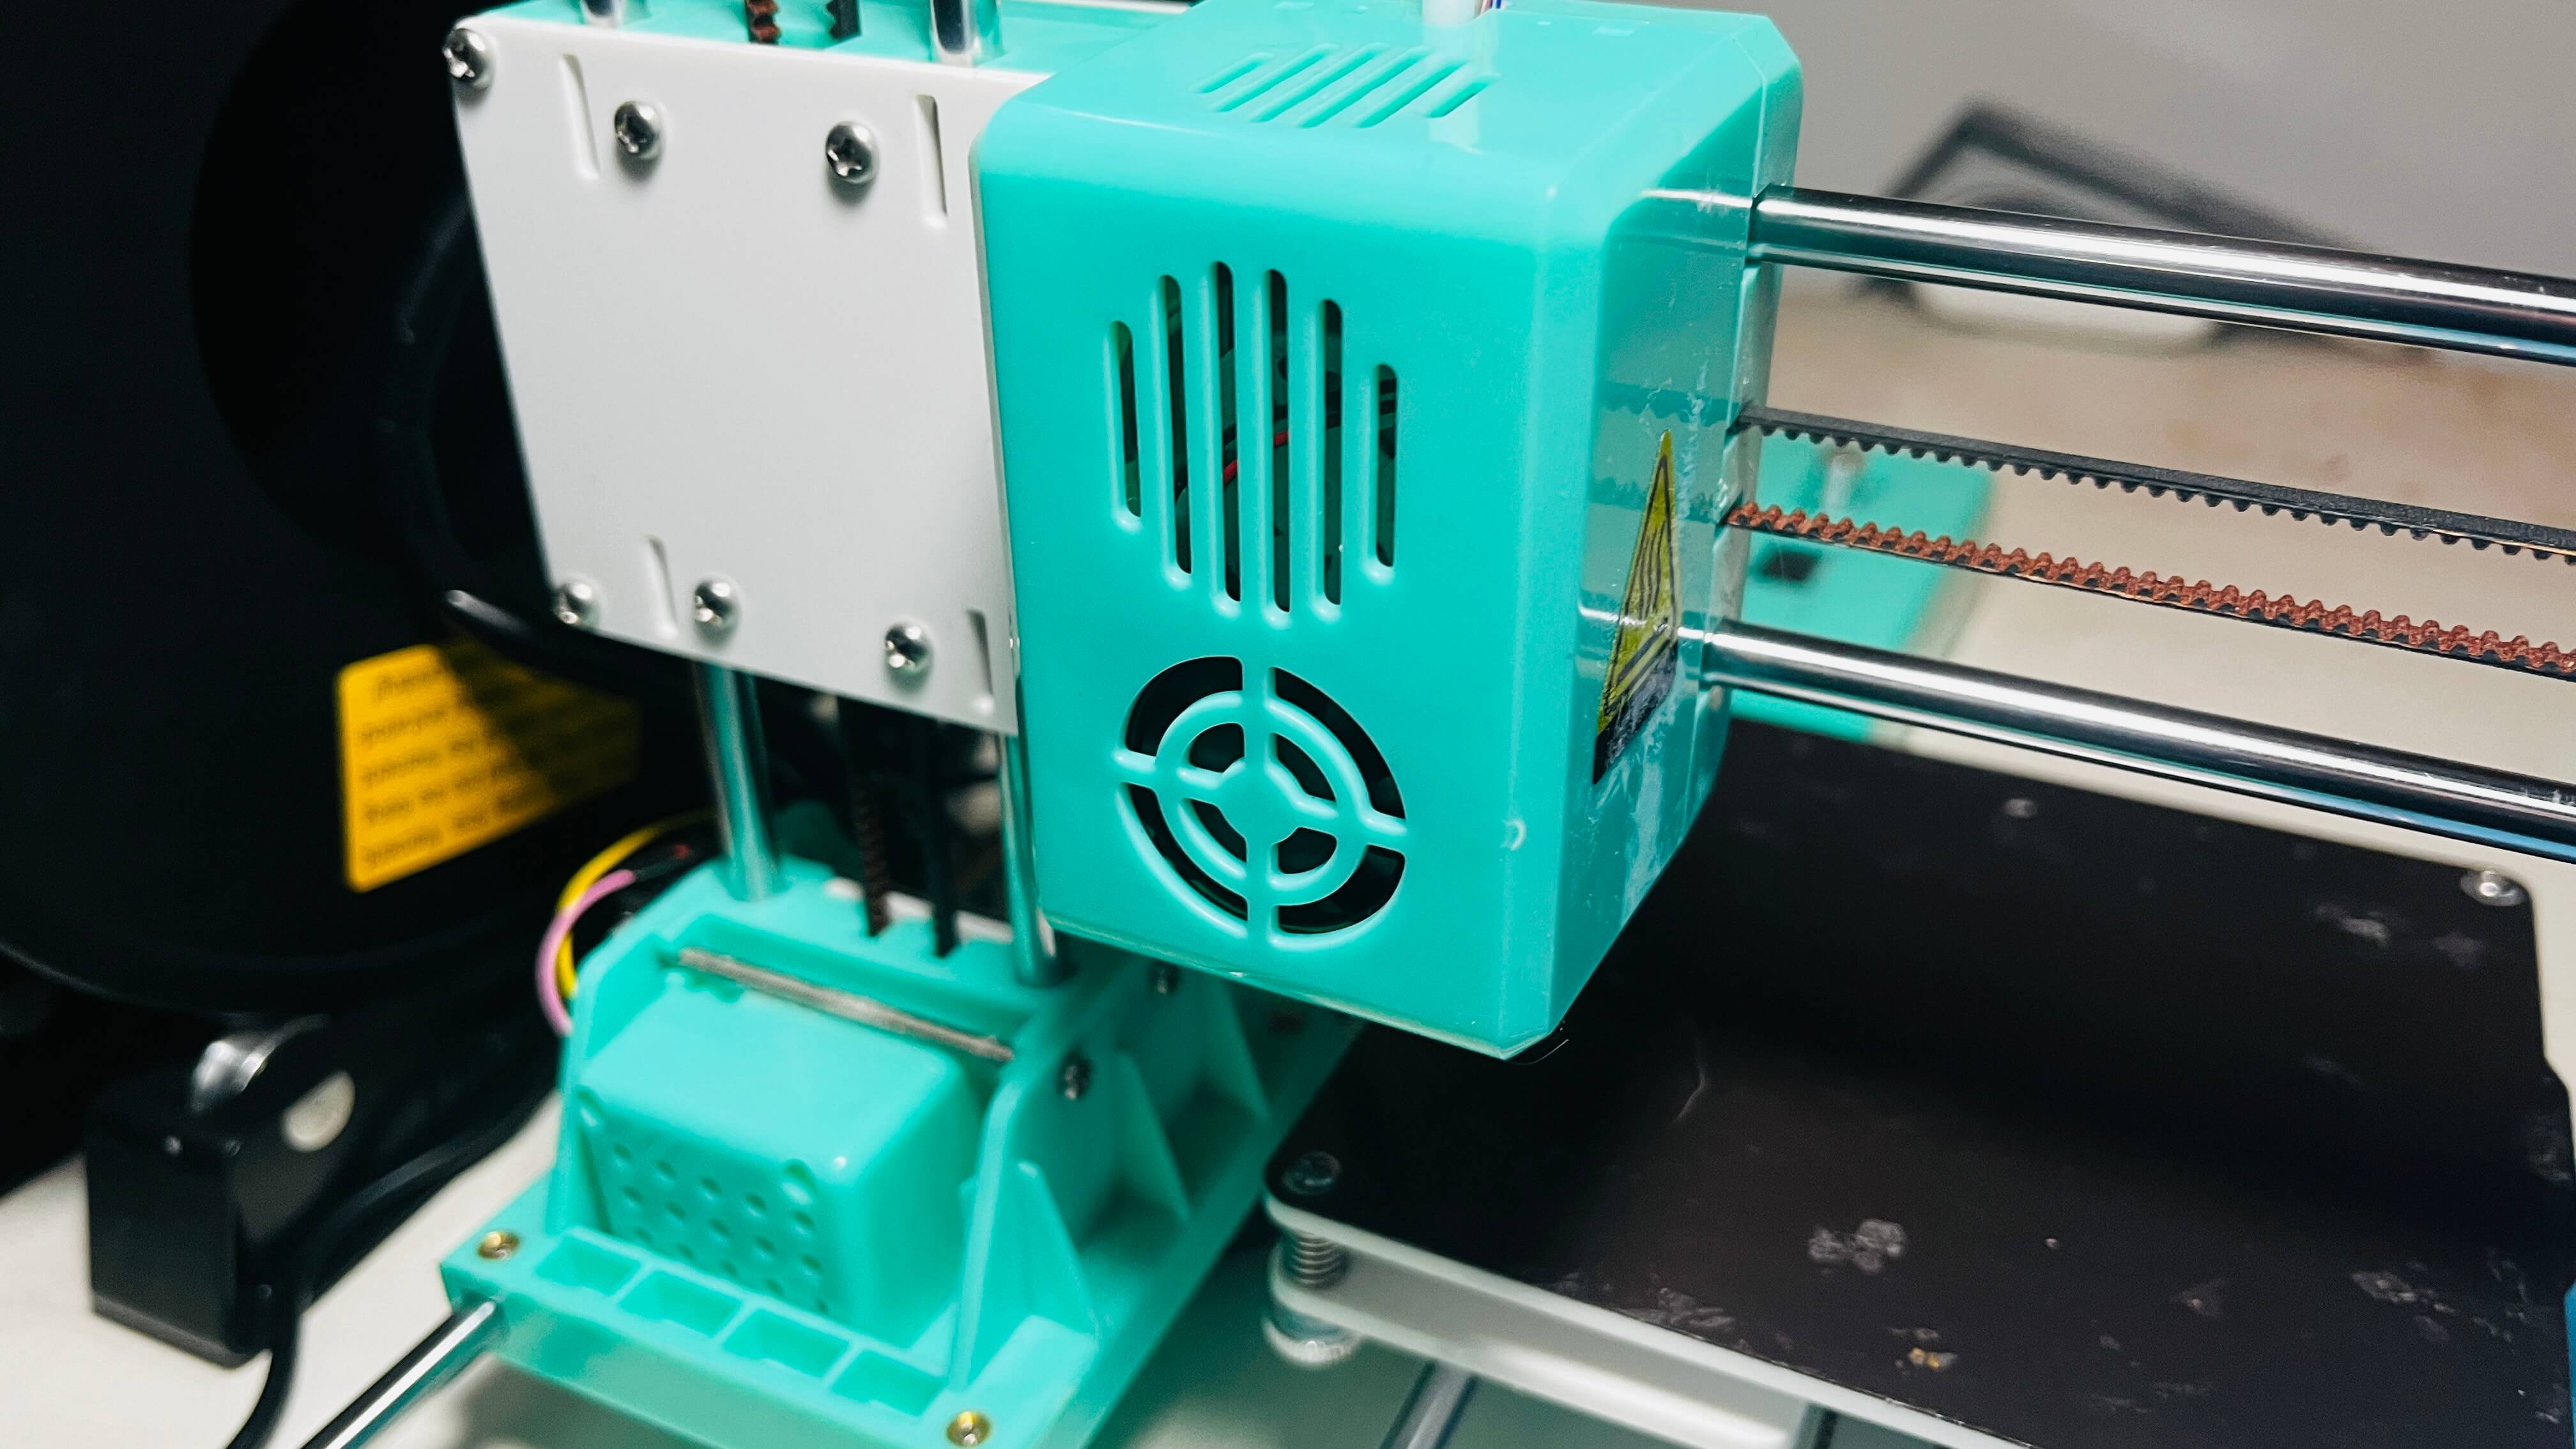
Bob purchased the mini printer from Amazon and when it arrived it really was compact and bijou! It came in just three parts, the head, the base and the control box and soon after Christmas, Ash set about fitting it together, the baseplate connects to the Z Axis arm and the Y Axis arm, a pair of bolts and a couple of clips is all it takes to put it together and soon enough the printer is complete.
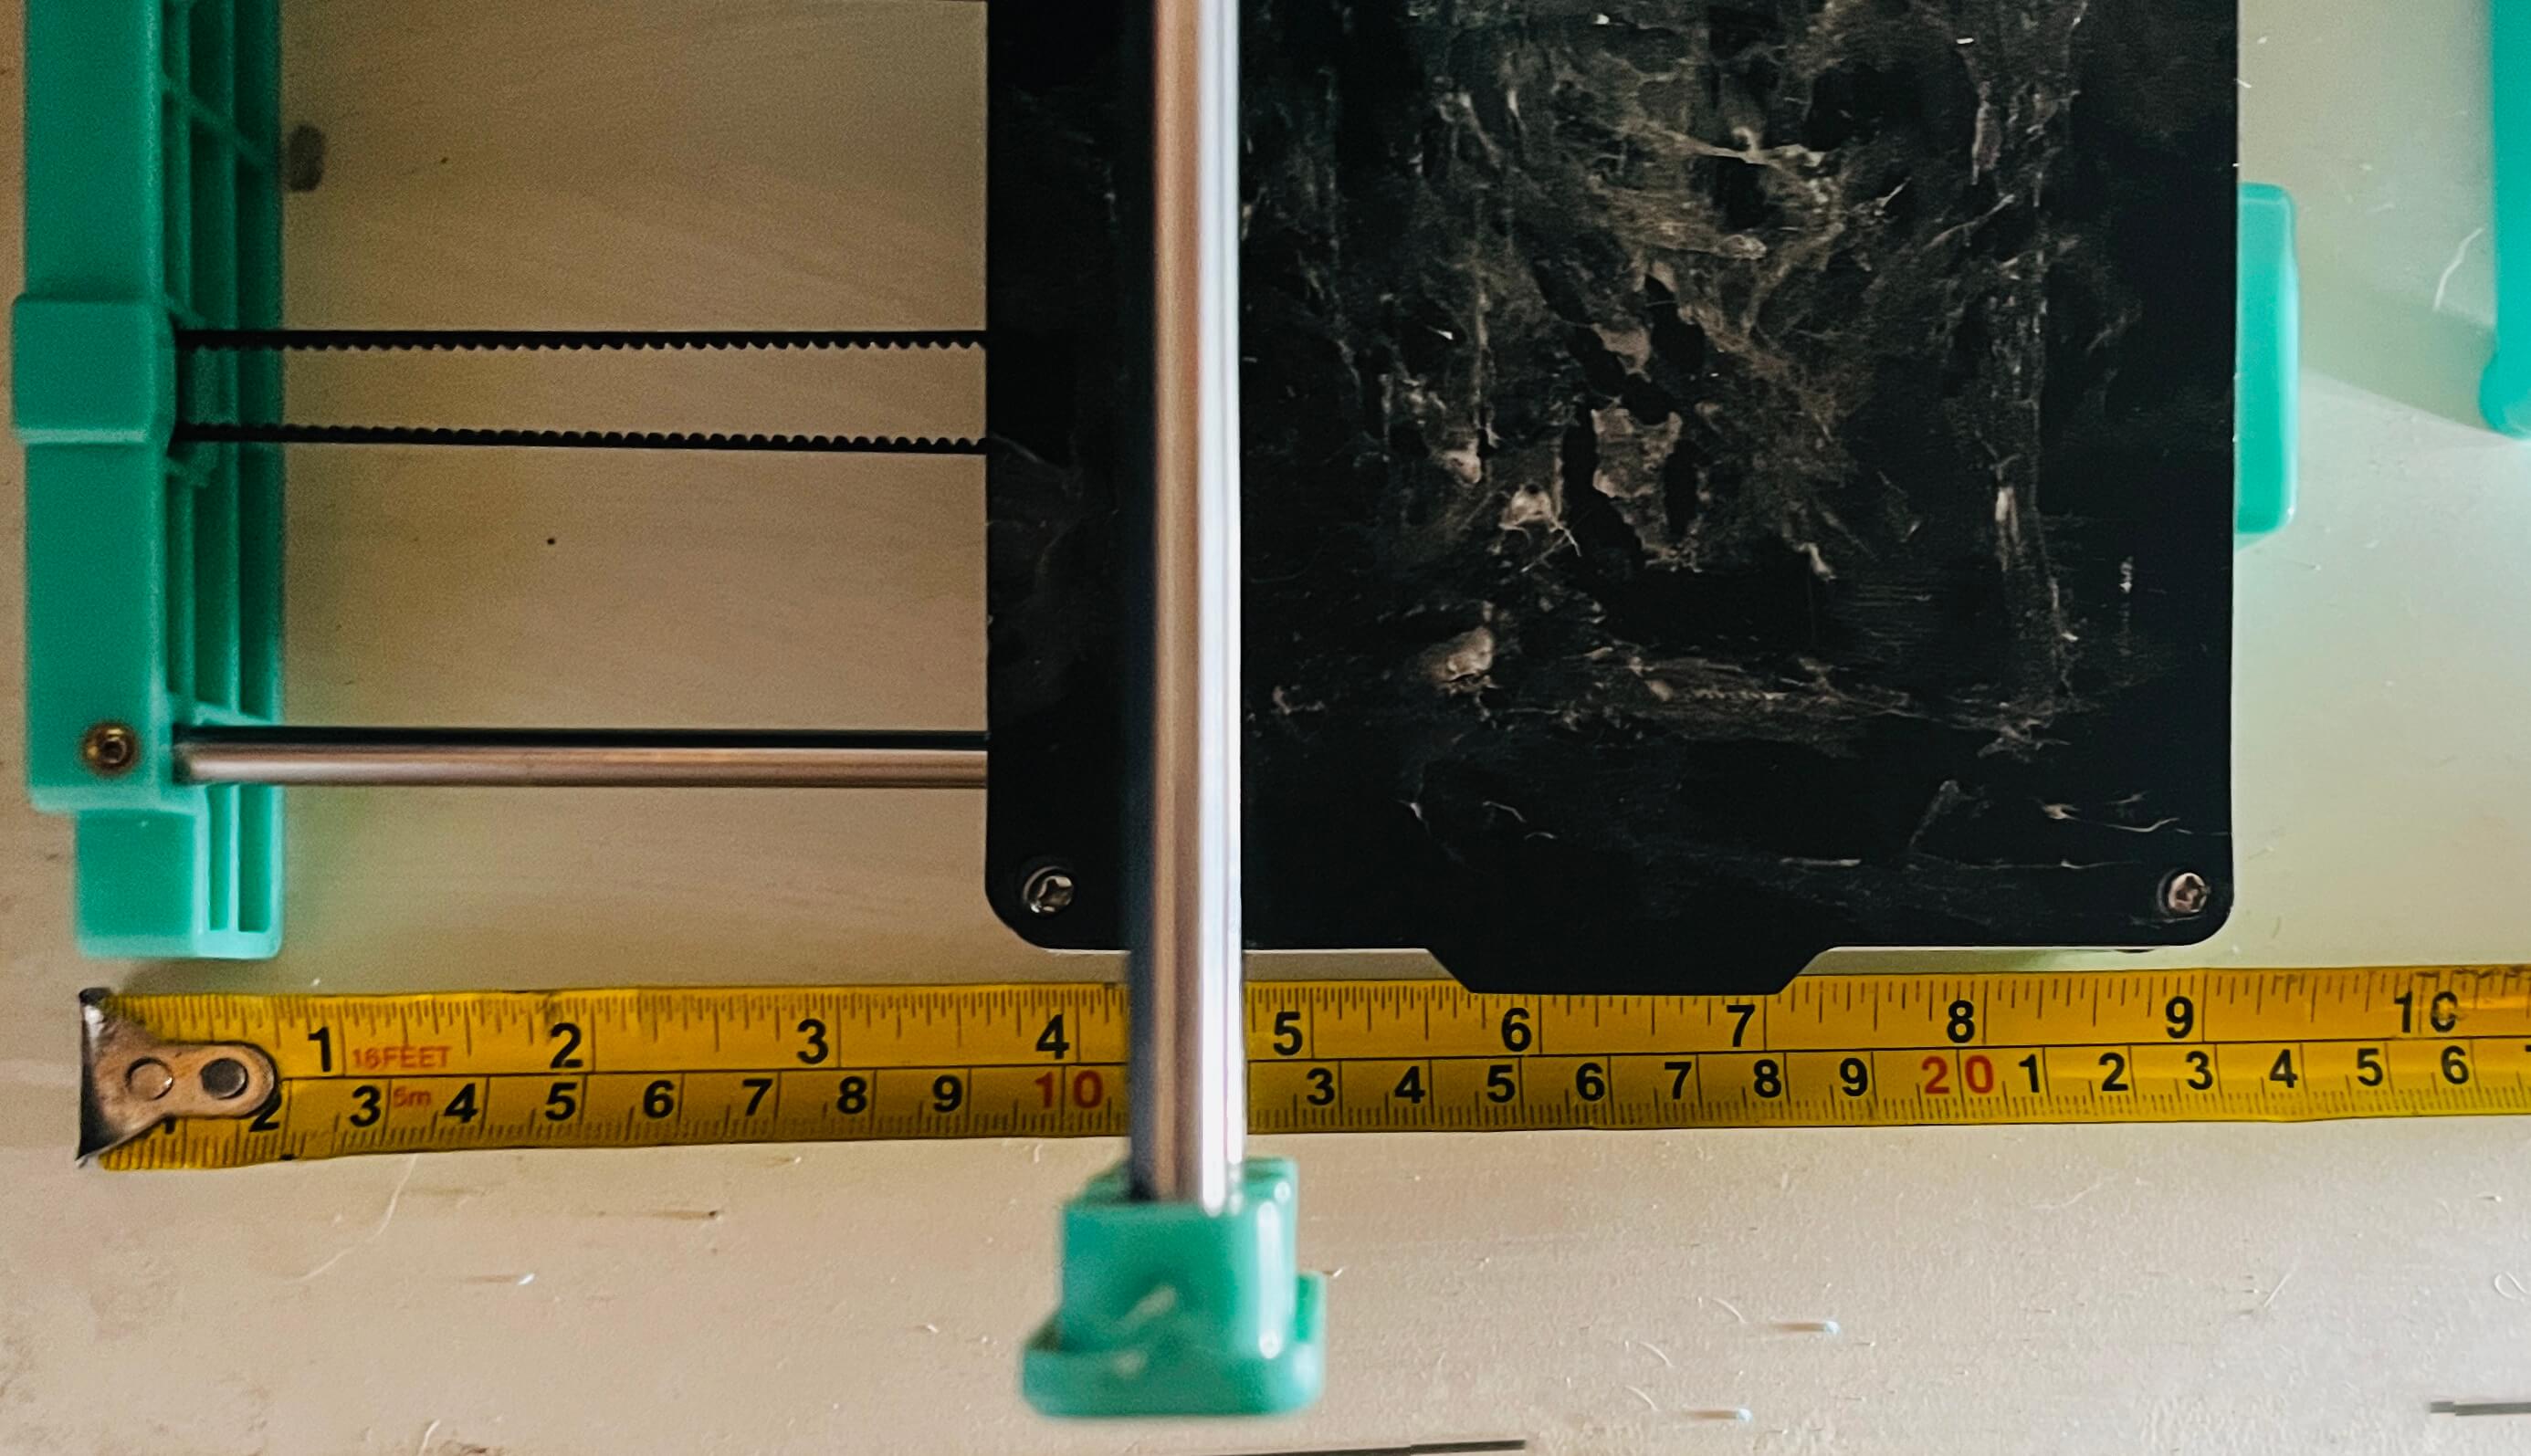
Then it’s a case of calibrating it, much like a paper printer the machine has the usual ritual of singing the song of its people, but this is more like a Karaoke version, it needs a bit of help aligning the Hot End (the printing head) to be precisely far enough away from the base plate, so that the PVA Filament will extrude from the nozzle but not get stuck there, literally the width of a piece of printer paper is used to slide between the nozzle and the bed, then when the paper is able to slide between the two and leave a scratched mark on the paper’s surface, only then is the printer ready. It measures just 24cm square on the base and the plate to print on is 10cm square.
It comes with an SD Card and reader, there is also software called EasyWare, which (although it has an English translation clearly provided via Google Translate is all in Chinese and doesn’t quite make sense!!) The first print was a vase, that was a test provided on the card, after a lot of judgement calls and a few failed starts we managed to get the vase to print, it took nearly four hours (which turns out to be pretty slow) but we had a vase made of plastic wire!
Bob made an informed decision to also supply a full roll of PLA thread, (informed because the supplied string that comes with from EasyThreed is apparently crap and will only clog up the machine if used!)

After this Ash set about trying to print other stuff, there are enough websites out there to download STL. Files off of and a lot are free. Sites like MyMiniFactory, Models made with Tech, CGTrader and Hero Forge. It was this last one, a site that allows you to make your very own characters for RPG games or just for the hell of it, that Ash headed to, having had an idea for a long time but no way to print off his creation, he made a figure and downloaded the file and set it to print.
The result was… well the result was not great, it was extremely bumpy and jagged, he tried again and tried a few other models, then he researched settings, turning to Facebook Groups, Reddit Posts and then finally his YouTube audience to ask for help. They provided a mass of information and detailed suggestions, mostly to do with the settings in the Slicer Software.
Cura (like the EasyWare program that came with the machine) is one of these Slicer programs. It basically takes the STL.file and ‘converts ‘slices’ the object into a hundreds of sheets of printable layers, then tells the printer how and what to print, sending the image one line at a time and making the printer print that line only, then the next on top and the next on top of that, as well as adding support rods to anything that will overhang the base, thus stopping it from drooping or collapsing while it prints and then cools down. A print is anything from 500 lines and upwards. But what Cura expects to take 4 hours usually takes at least double that! Cura itself is just a mass of settings row after row of boxes filled with numbers, from nozzle temperature to layer height, infill percentages and hot bed temps and all were a bit overwhelming to the Newbie Printer.
But after many hours of turning that down, that up and that off, Ash started to get it and with the help of the YouTube comments we took a screwdriver to the new machine and set about adjusting it, it turns out the printer arrives in the most basic state, the rubber belts, (like fan-belts on a car), are as loose as (something rude and slanderous!!) So each has to be tightened in turn, dismantling the whole machine in order to get to the belts and clips. But after a steep learning curve and more adjustments we had the machine back together and the first print was buzzing onto the plate.

The comments on YouTube helped also with understanding Cura too and the first prints worked well printing straight onto it, it was suggested that printing simple objects like a Benchy this is the little boat (in the GIF above) it is the Benchmark tester for printers, the simple object allows you to get the best out of the machine in a simple print. Additionally it is suggested that printing (or in our case cutting out a bit of foam!) a frame to fit at one end to stop the Y axis head wobbling during prints would also be a good idea. (hence the blue foam in the photos)
Other tips and tricks we have learnt are the basic prints like the boat or the vase lay down fine, but the bed looses its stick and often prints will slide about and fail, so a simple Glue Stick, (like you use for sticking paper in a book), is used on the magnetic plate to create a sticky surface, so the filament has something to bind to in the first layers. Additionally printing a Brim or Raft helps, these are wider areas around the base of the print, that snap off after wards and help the print get started.
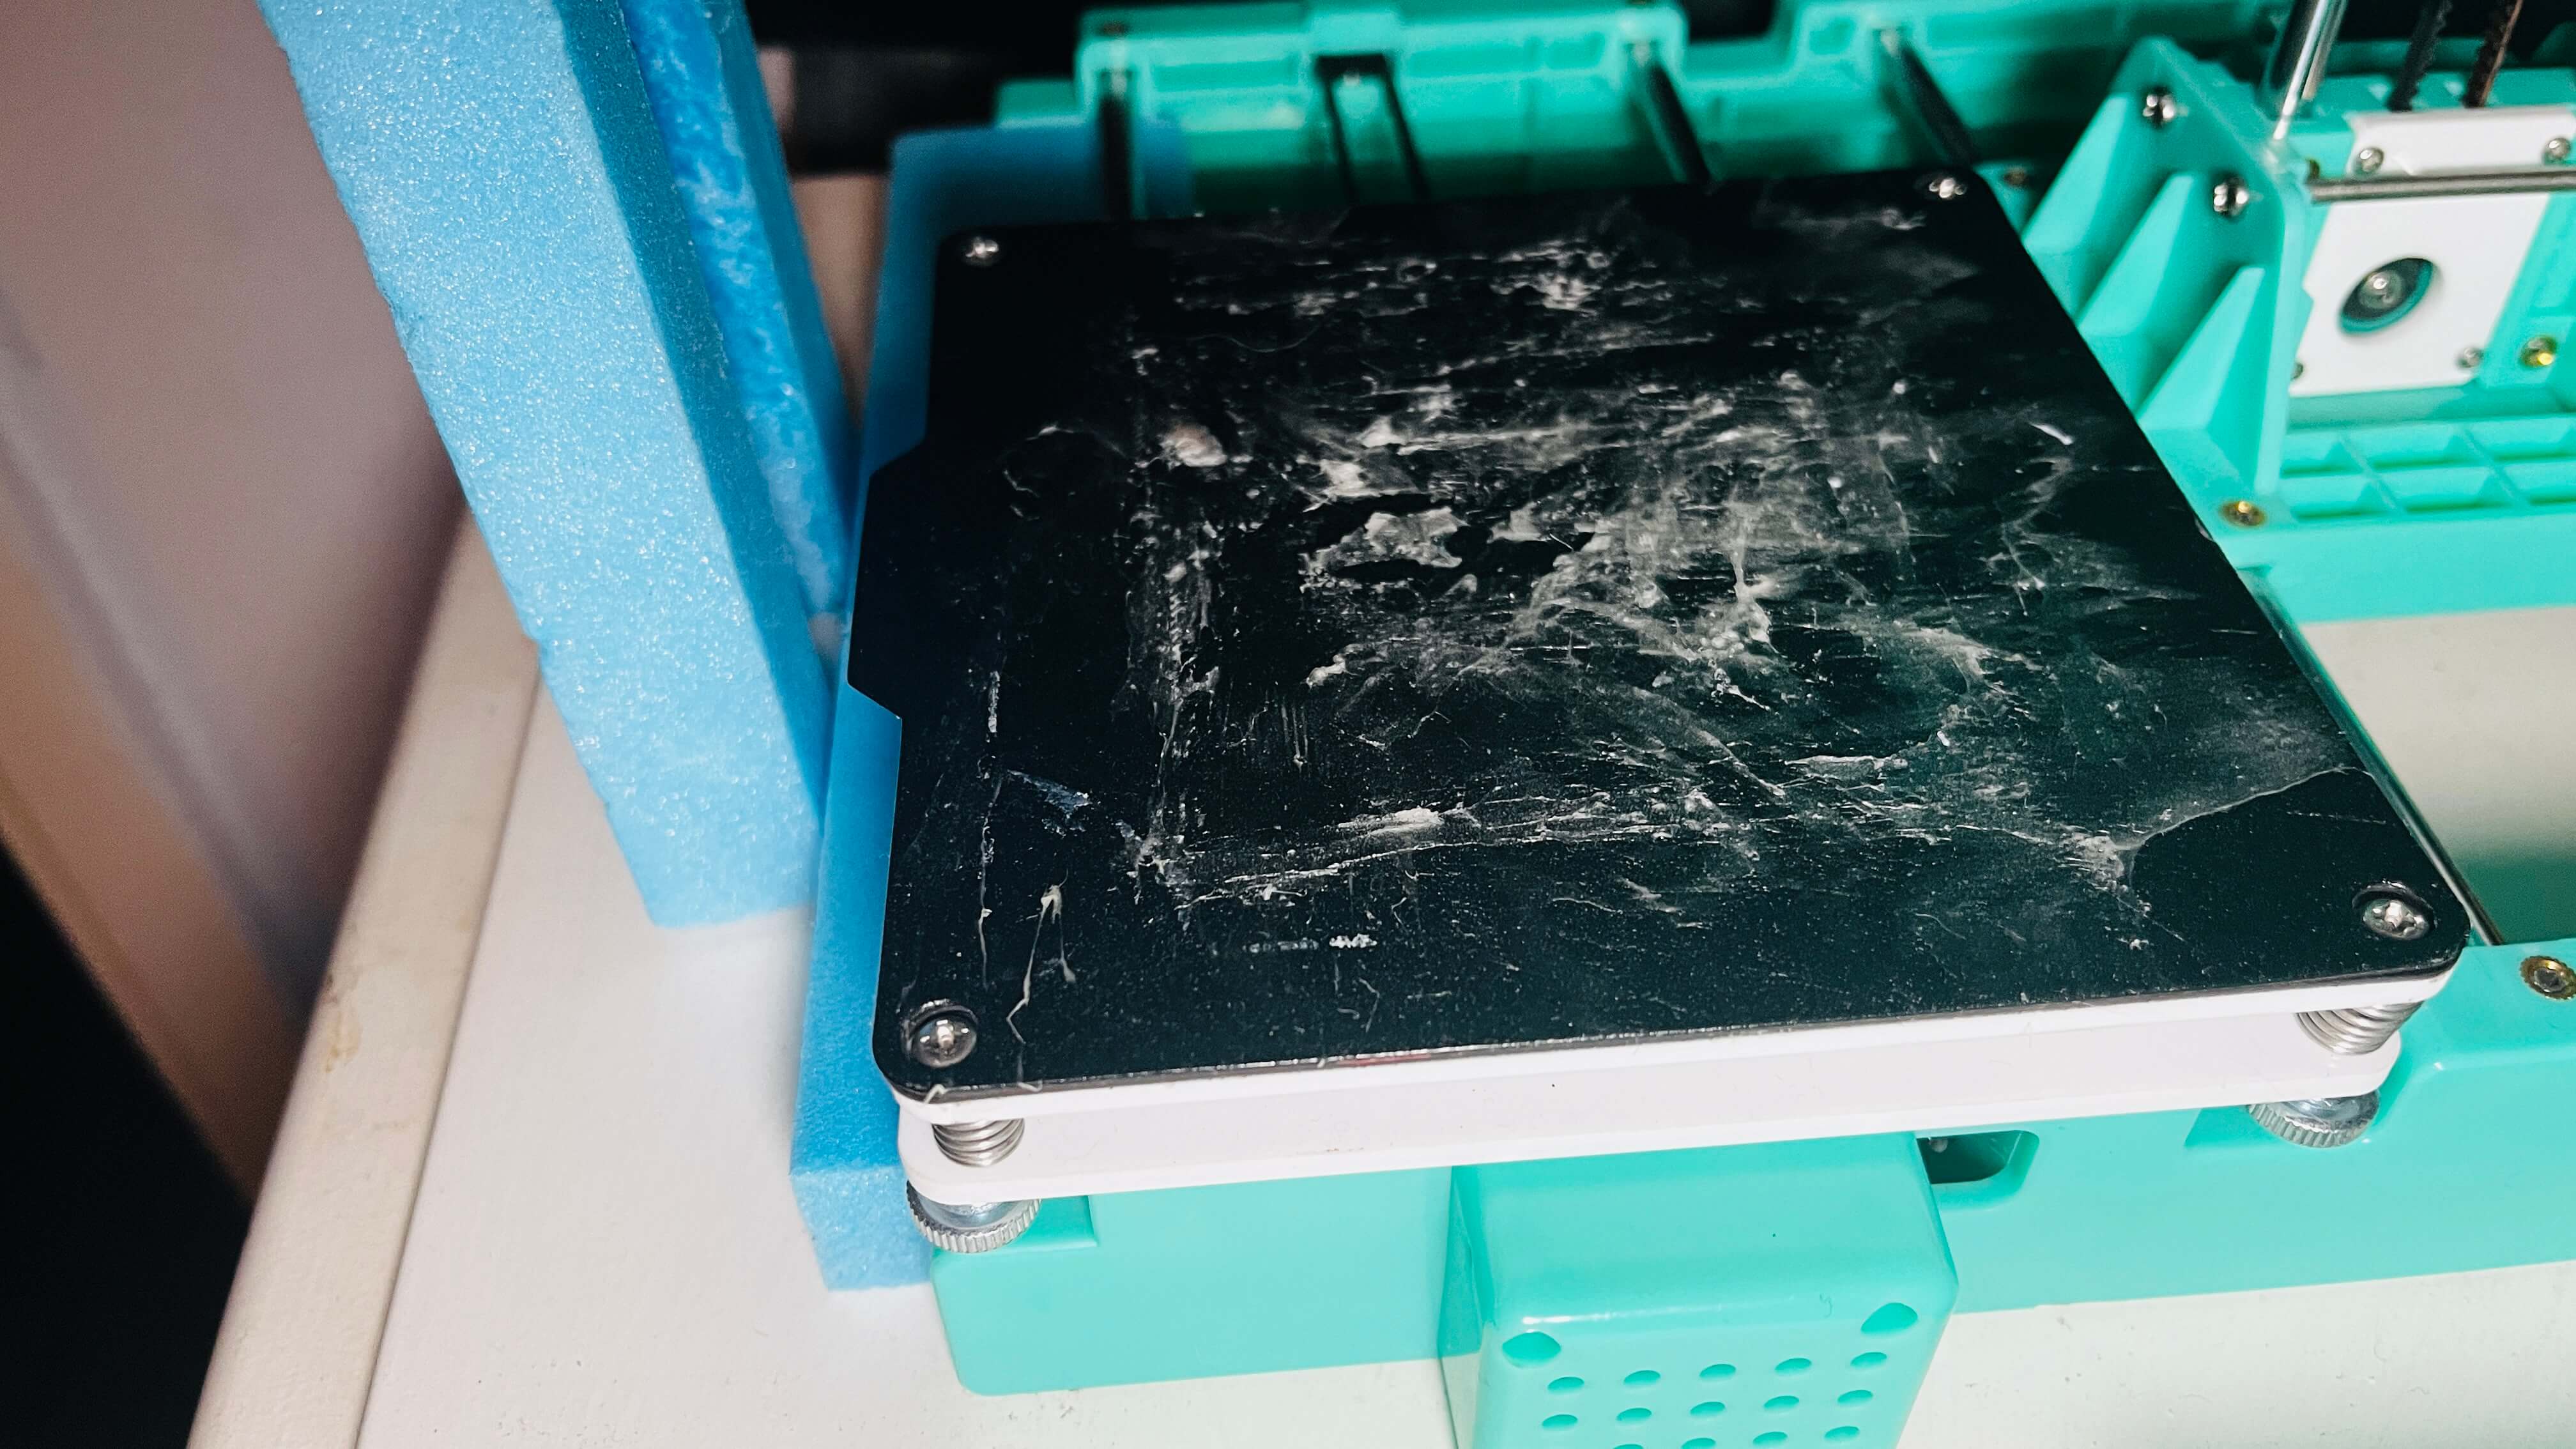
The EasyThreed X2 is small and so the prints are small, the bed is only 100mmx100mm and the nozzle is only a 0.4mm the maximum print size is about 75mm. It does have a magnetic removable plate for printing on, so when the print is done this is removed and the object can be peeled free and the Brim and supports removed.
It is an ideal starter printer but it turns out even after tightening every part of it, it is not ideal for printing models/figures, it doesn’t have the right nozzle, bed, head or filament. There are options to change the nozzle to add a heated bed and increase the air flow via drilling big holes in the head! But these are serious jobs and to buy a new head /nozzle and heated bed would cost about the same as the machine cost to buy in the first place, so we are going to stick with the little thing just as it is for a while!
As many in the comments suggested this printer is a FDM (Fused Deposition Modelling) Printer and to get a good detailed print we would need a Resin Printer* and they are still waaaaay too expensive and too big and take a long time to print and are a lot more involved. But there are some printers that would be able to print such small things, but again size and money come up again and besides we want to keep the little micro X2 and make it print vases and walls, boxes and the like, simple things that don’t need a 0.1mm nozzle and a heated bed!
So, what do we think of the EasyThreed X2 3d Printer? Well there are pros and cons for sure.
| Pros | Cons |
| Price – It is a lot cheaper than any other 3d Printer on the market | Printing – The nozzle is not small enough to be able to print much detail |
| Size – It is compact and takes up little space | Size – The print size limits what is printable |
| What you get – It comes with everything you need including software, filament and SD Cards | It needs a heated bed and smaller nozzle and better software |
| Assembly – It’s easy to assemble (and after a bit of learning) easy to adjust | It’s easy to assemble but needs a lot of adjustments to get and keep it running smooth |
| It’s the perfect learning machine, nothing too complicated | It’s basic, it would need more to be able to print more complex things. |
So, all in all there isn’t anything bad about the EasyThreed X2 (or the X1, K5, K6, K7, and the other codes! Basically they are all the same machine with different names), it is what it is, a simple little machine for beginners and kids to get a taste of 3d Printing and we will continue to play around with it, making vases and other random objects and maybe some walls or other parts to fit into a diorama or be the next Crafting Project on the YouTube Channel!
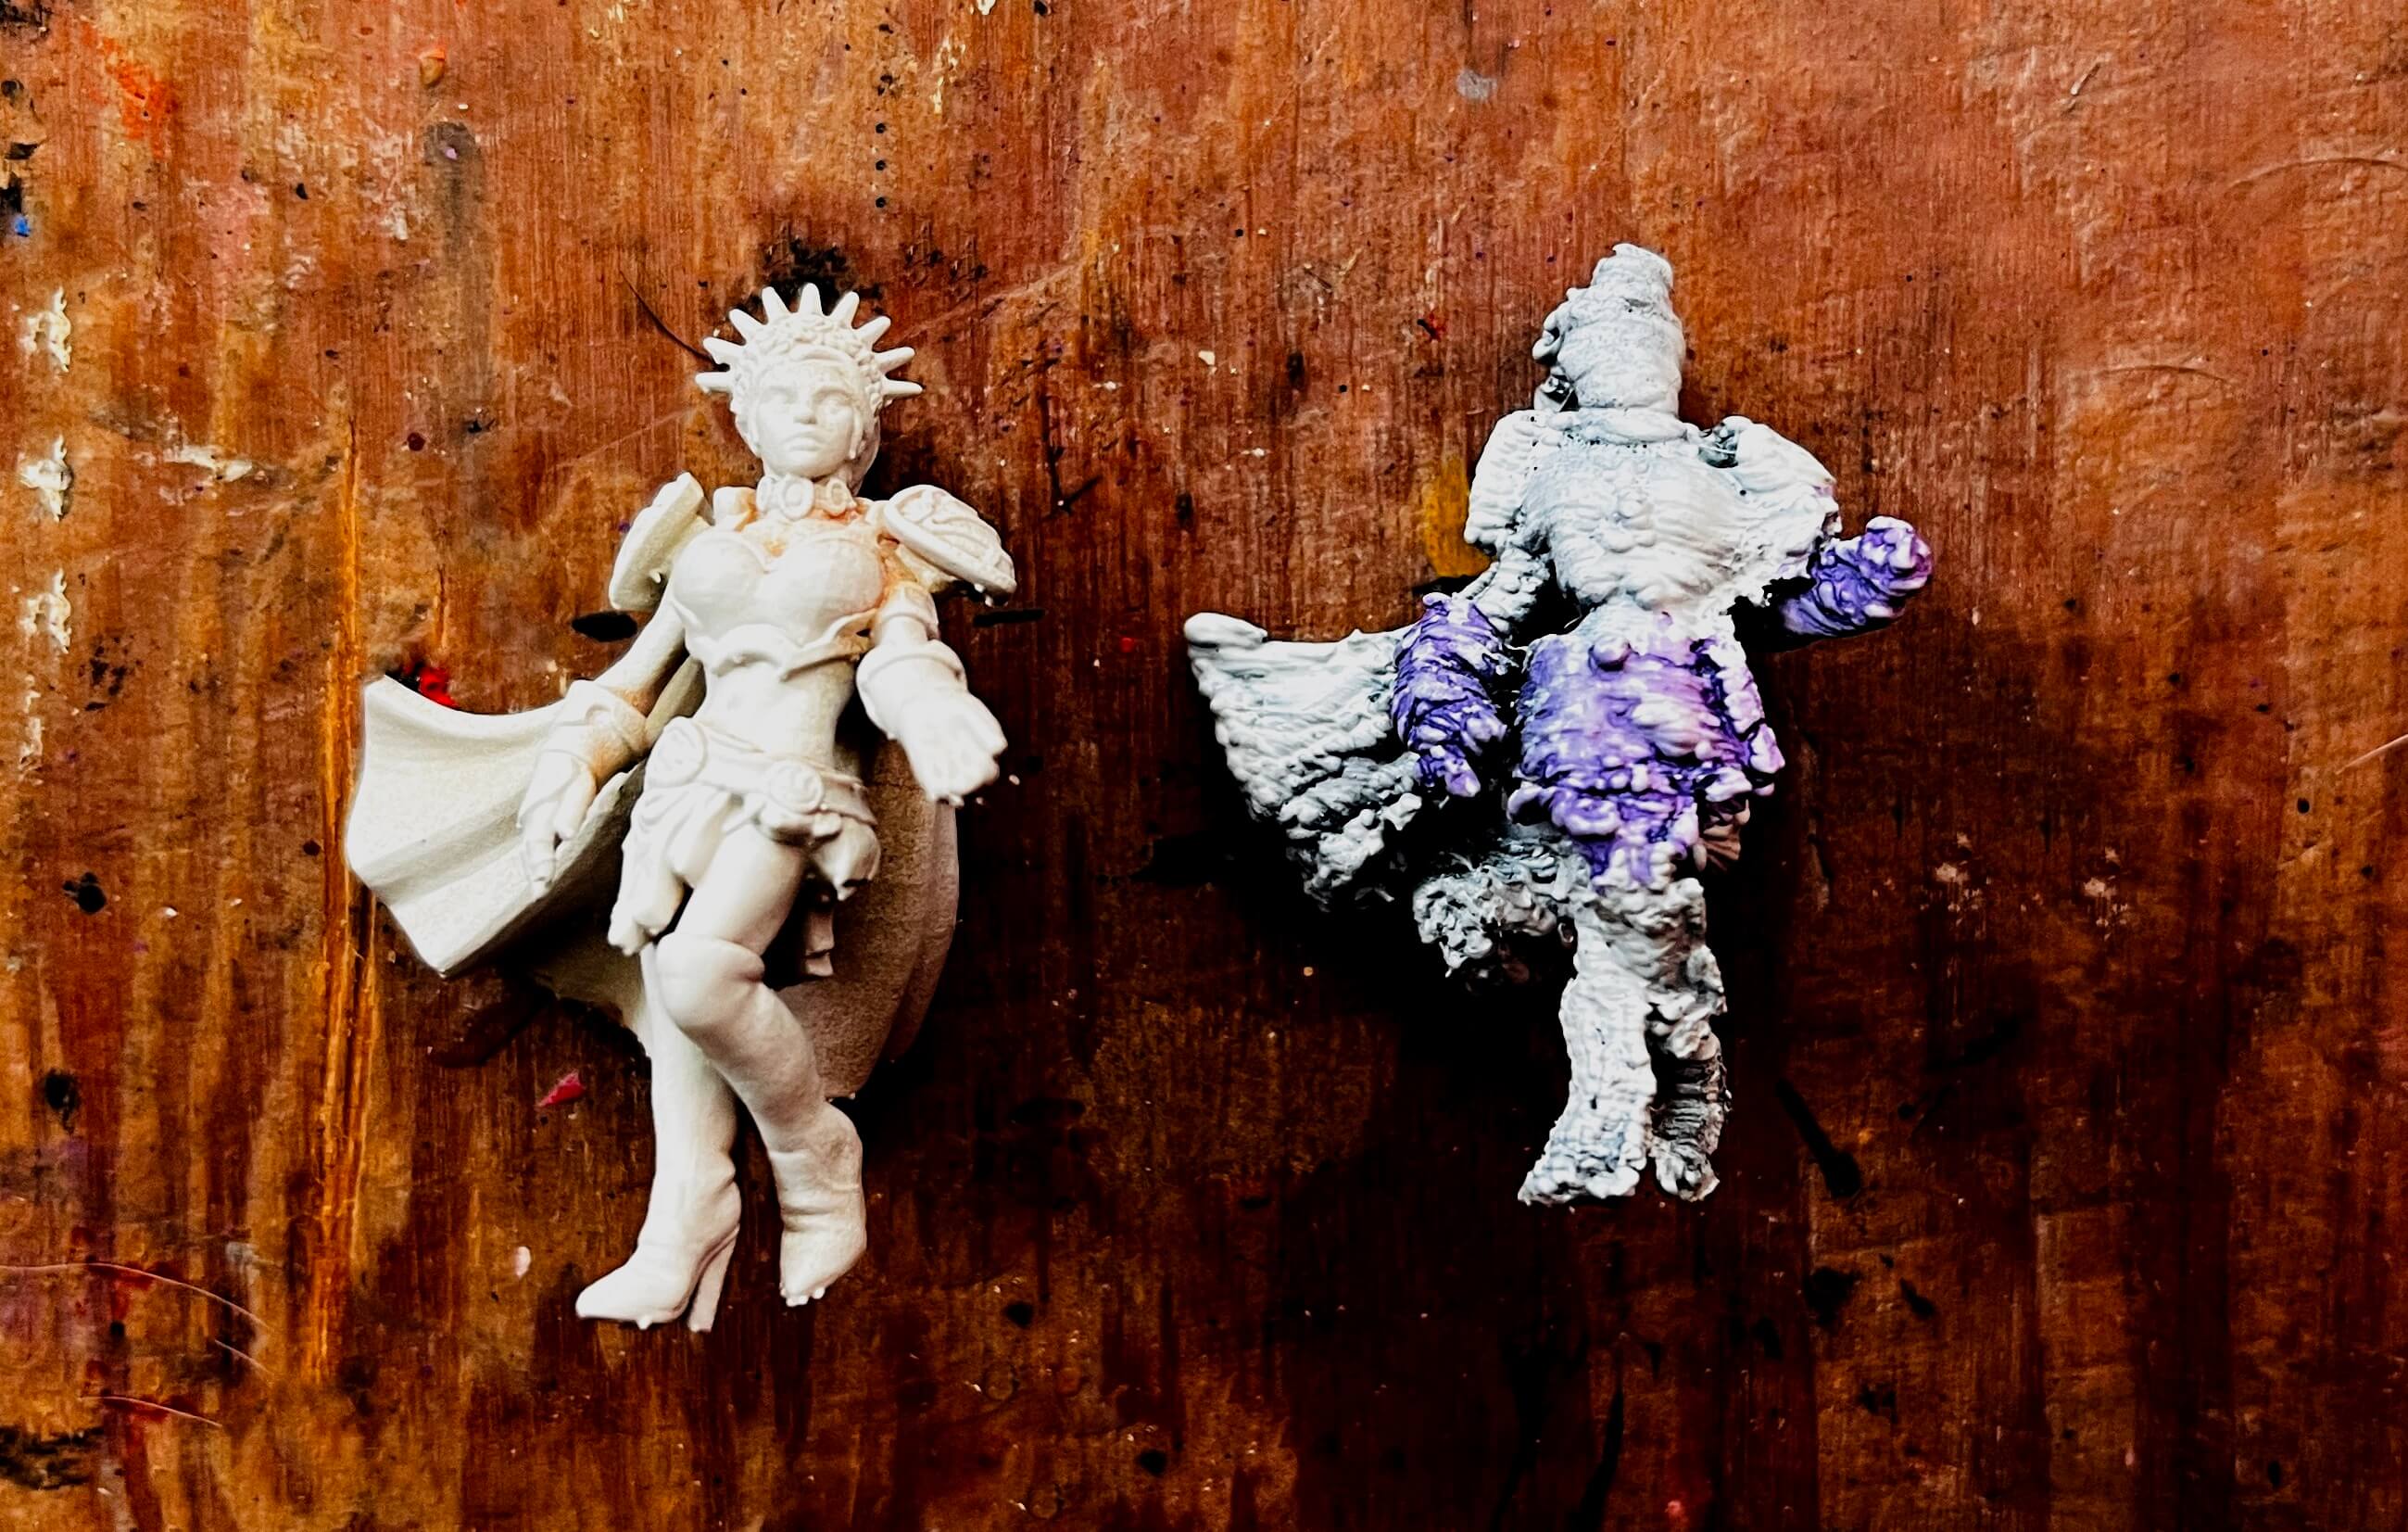
*Oh if you are wondering Ash got the HeroForge model printed at 3DProshop in a resin printer and the comparison is clear to see.
Well there we go another new thing you learnt on Climbing-moss.com. Come back next time for something new, maybe something you never knew you needed to know about, maybe something a bit more familiar!

