
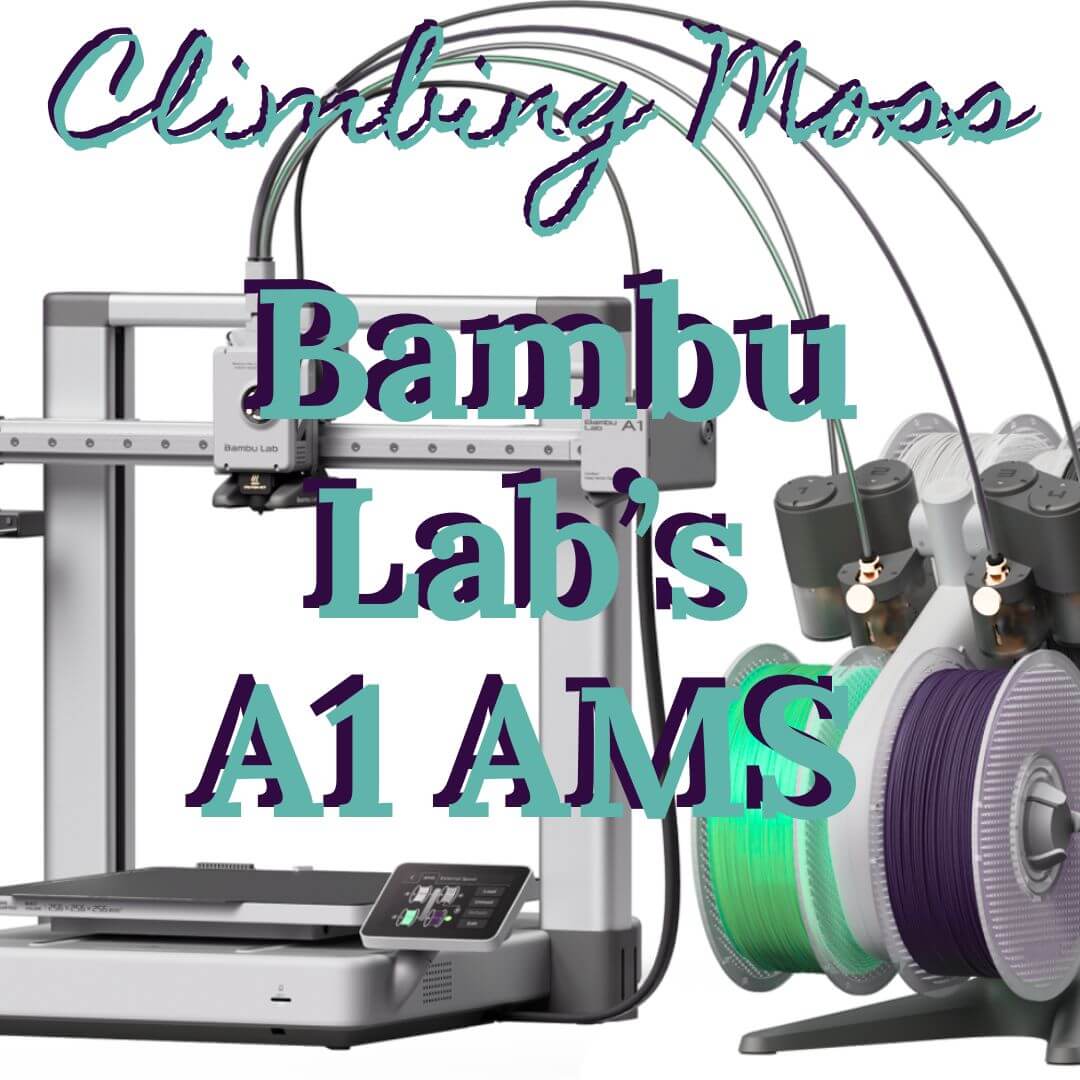
A couple of years back, Bob bought Ash a mini 3d Printer as a Christmas present. As fun and exciting as it was to embrace modern technology and try my hand at printing everything we could with it, it turned out to be impractical for his needs. So last month Ash indulged and finally bought a proper, full-blown 3D Printer, the Bambu Labs A1 AMS. Here are our first impressions.
When the possibility of printing your cutlery, cups and plates, even a new table, is possible, instead of going to Ikea to buy them, that is when you know you really are living in the future. So when Ash opened Bob’s Christmas Present a couple of years back and saw the EasyThread2D 3D Printer, it really opened our eyes to the marvels of printing anything we could potentially need.
We have all seen the magical machines that can, in theory, print us a new house, a car or simply an oversized cup and saucer. But actually watching the sample print of a vase print out in a couple of hours is quite amazing, but even given the size and potential ability of the EasyThread it did have its limitations and the main one was its whole selling point, the size. The tiny machine could only ever print the basics, vases, toy boats (called Benchy) and the like. You can, of course, tweak and turn the device to do amazing things, but as a beginner Ash had limited ability and knowledge and was limited to trying to print figures and ending up with, well, this…

The left figure is a pro printed version, the right is my attempt!
It turns out the nozzle is the problem and the Easythread’s standard nozzle is the wrong size and some major re-engineering is needed to make it work and so it mostly sits on a shelf there looking like a piece of modern art. Ash really wanted to use it, but every attempt ended up looking like the figure above.
We bookmarked the Bambu Lab printer after seeing it featured on YouTube videos and kept looking, then there was a sale and he couldn’t wait any longer. The order was made and the delivery date set, then the boxes arrived, we were surprised at the size and a little daunted too. Ash had measured and gauged the potential position of the new machine in his flat, but the boxes looked big enough to camp out in.

Inside were a lot (we mean A LOT) of parts, nothing was connected together. Every screw, every wire, every piece of frame has to be connected, joined, bolted, or fastened, plus the instruction manual that comes in the massive box is pretty much useless! A kind of;
1. Take out of the box.
2. Assemble the parts.
3. Print a test print.
When what really happened was. Take out all the pieces, place them everywhere, then try to match the nuts and screws to the random picture, then insert a screw into a hole and then spend 45 mins shaking the bed, trying to get said screw back out, because it was the wrong one and it fell through said hole and got lost inside. Ash made a video of the experience and posted it to YouTube, where most of the comments were less than helpful.
“Bro made a 45min construction, take 4 hours!”
It turned out this commenter was a professional printer and has in fact constructed about 50 machines. So the comment was not helpful, but it did demonstrate that once you know what screw goes where and how to wire the plug connectors to the right socket, it is easy to put together. For me, however, it was the instructions and accompanying videos by Bambu Labs that hindered the construction. For example, the instructions for connecting the plug from the printing head to the frame were as follows;
1. Connect the yellow plug to the yellow socket.
2. Connect the blue to the blue.
3. Connect the 2nd yellow plug to the other yellow socket that is underneath the other two leads. Don’t worry the previous leads will never come out ever again, so don’t worry about trying to get them out, because you can’t!
So the construction of the machine took a little more than 45mins, in fact, it took longer than four hours. It took more like 4 days; Ash’s anxiety and stress levels were so high that he had to give up for a couple of days! But eventually, with the frame, the bed and the nozzles all in the right place and connected, the machine was basically correct.

But there was more, the AMS part of the A1 printer is the latest tech and the clever bit, a massive (we are talking the same size as the printer) set of 4 drum holders to hold 4 rolls of filament. The basic A1 Printer has a smaller printing plate and is not as good a printer, so that’s why we bought the better version. But in all the images and dimensions, the AMS is shown to be separate and able to stand alone. Ash had planned for this to sit on a separate shelf on the bookcase. Whereas in practicality, the connecting wire is only 10cm long meaning the holder has to sit next to the frame and with the spools of filament, the whole thing is double the size of the printer. So no, it would not sit on a shelf to itself, it HAS TO BE right next to the frame. Given this, Ash thought of returning the AMS part as it was not going to be needed, he would just print in single colour instead.
But Customer Services of Bambu Labs – though helpful were adamant that there is no returning part of the machine. But did suggest printing out a bracket to attach the Spool holder on top of the printer; this, though a possibility, would make the whole machine about a metre tall and, as it’s already sitting on the top shelf of a bookshelf, is not terribly practical. So it now sits in a cupboard waiting to be used or sold!

With the machine (finally) set up, it was time to test it. Ash opened Bambu Labs software and found that the provided Micro SD card had several sample prints pre-installed, and set about printing one. ‘Benchy’ is a standard little fishing boat, a clever toy that has just enough angles, overhanging lips and windows to challenge a printer but not cause issues. The boat should print smoothly and cleanly; the test print did just that and in about 30mins. For reference, the Benchy on the Easythread took 3-4 hours to print. But Ash hadn’t bought this to print toy boats, no! he had more complex designs in mind. 28mm D&D and Warhammer figures. So he pulled out the folder of STL files he had been saving for the last few years and dropped one into the Bambu Studio software.
This was probably the hardest part, choosing what to print first! In the end, a number of warriors, rogues, barbarians and the like have been test printed at 28mm, 56mm and even the 100mm size, Tabaxi’s, goblins and more little figures have appeared on the plate over the last month. As well as add-ons to the machine itself, a Poop Tray (a bucket for catching the waste filament) was needed to stop it dropping down the back of the bookshelf and finding its way into the paper printer below (it did just that and jammed the printer for days!). And as we are writing this post, we are printing a 3d Climbing-Moss.com Logo. A cup and a splash of coffee as well as a carabiner. We haven’t managed to sculpt an original design with the insignia on it in Blender, but we are hopeful that maybe one day we will be able to sculpt something amazing – Bob wants a sculpt of Vincent Valentine, but that may be a few months off (or years!), just yet. But with sites like Makerworld and CGTrader

So with the construction behind us, we are happy with the printer as it sits there and prints away and often far faster than it initially says it will be. The Bambu Labs Studio is an intuitive app with a vast amount of settings to fiddle around with should you want super smooth prints, hollow centres and, of course, four colour printing, if you want the AMS set up.
We are still happy to be able to print a figure in a couple of hours or a new logo in 4 hours. For all this, the most fun bit is the camera; it comes with a pre-installed time-lapse camera that allows you to watch back the print from a side view, which you’ll be able to watch on our TikTok channel!
But overall, what do we think of the Bambu Labs A1 AMS? Well, it has its good points and its bad points, which will be obvious:
The Cons:
- The setup! It’s ridiculous, they may as well give you some filament and a nozzle and a bit of plastic and tell you to print it all yourself, given how little of the device is built upon arrival.
2. The AMS is a waste of time (for us), but there is no other option, the A1 is smaller and not as useful.
3. The instructions in print and video are terrible, it turns out there is a much more detailed and secret Wiki Page on constructing the machine on the website, but you would only ever know of this once you have built the machine and visited the website to register it – Well, we are telling you this big secret here and now!
4. Oh, one last issue (for Ash), it’s all green! I hate the colour green, it’s the most vile colour. All the writing, the graphics, the displays and the images all appear in this horrendous green; they really need another colour option, what’s wrong with Orange?!

The Pros:
Simply put;
- It’s fast – Compared to the little Easythread, it is about 8 times faster.
- It’s smooth – The nozzle comes with various settings; you can even get finer nozzles yourself to enable perfectly smooth prints.
- It’s simple to use; except for the setup, the software is really simple and beginner-friendly.
- It’s fun! The Camera is a fun little quirk that is interesting to watch back.
- The only limit is your imagination.
So what should we print next? That is the question.

Leave a Reply